Install components and functions
The main goal of Webcodesk is to provide a rapid development environment for React Web applications.
Webcodesk strictly follows a reuse-based approach to defining, implementing and composing loosely coupled independent components into the project.
Here "components" means not only pre-created React components but also reusable functions.
Taking into account all the above, we will not create React components and functions manually in this tutorial.
There is a marketplace for React components and functions that we can install into our project.
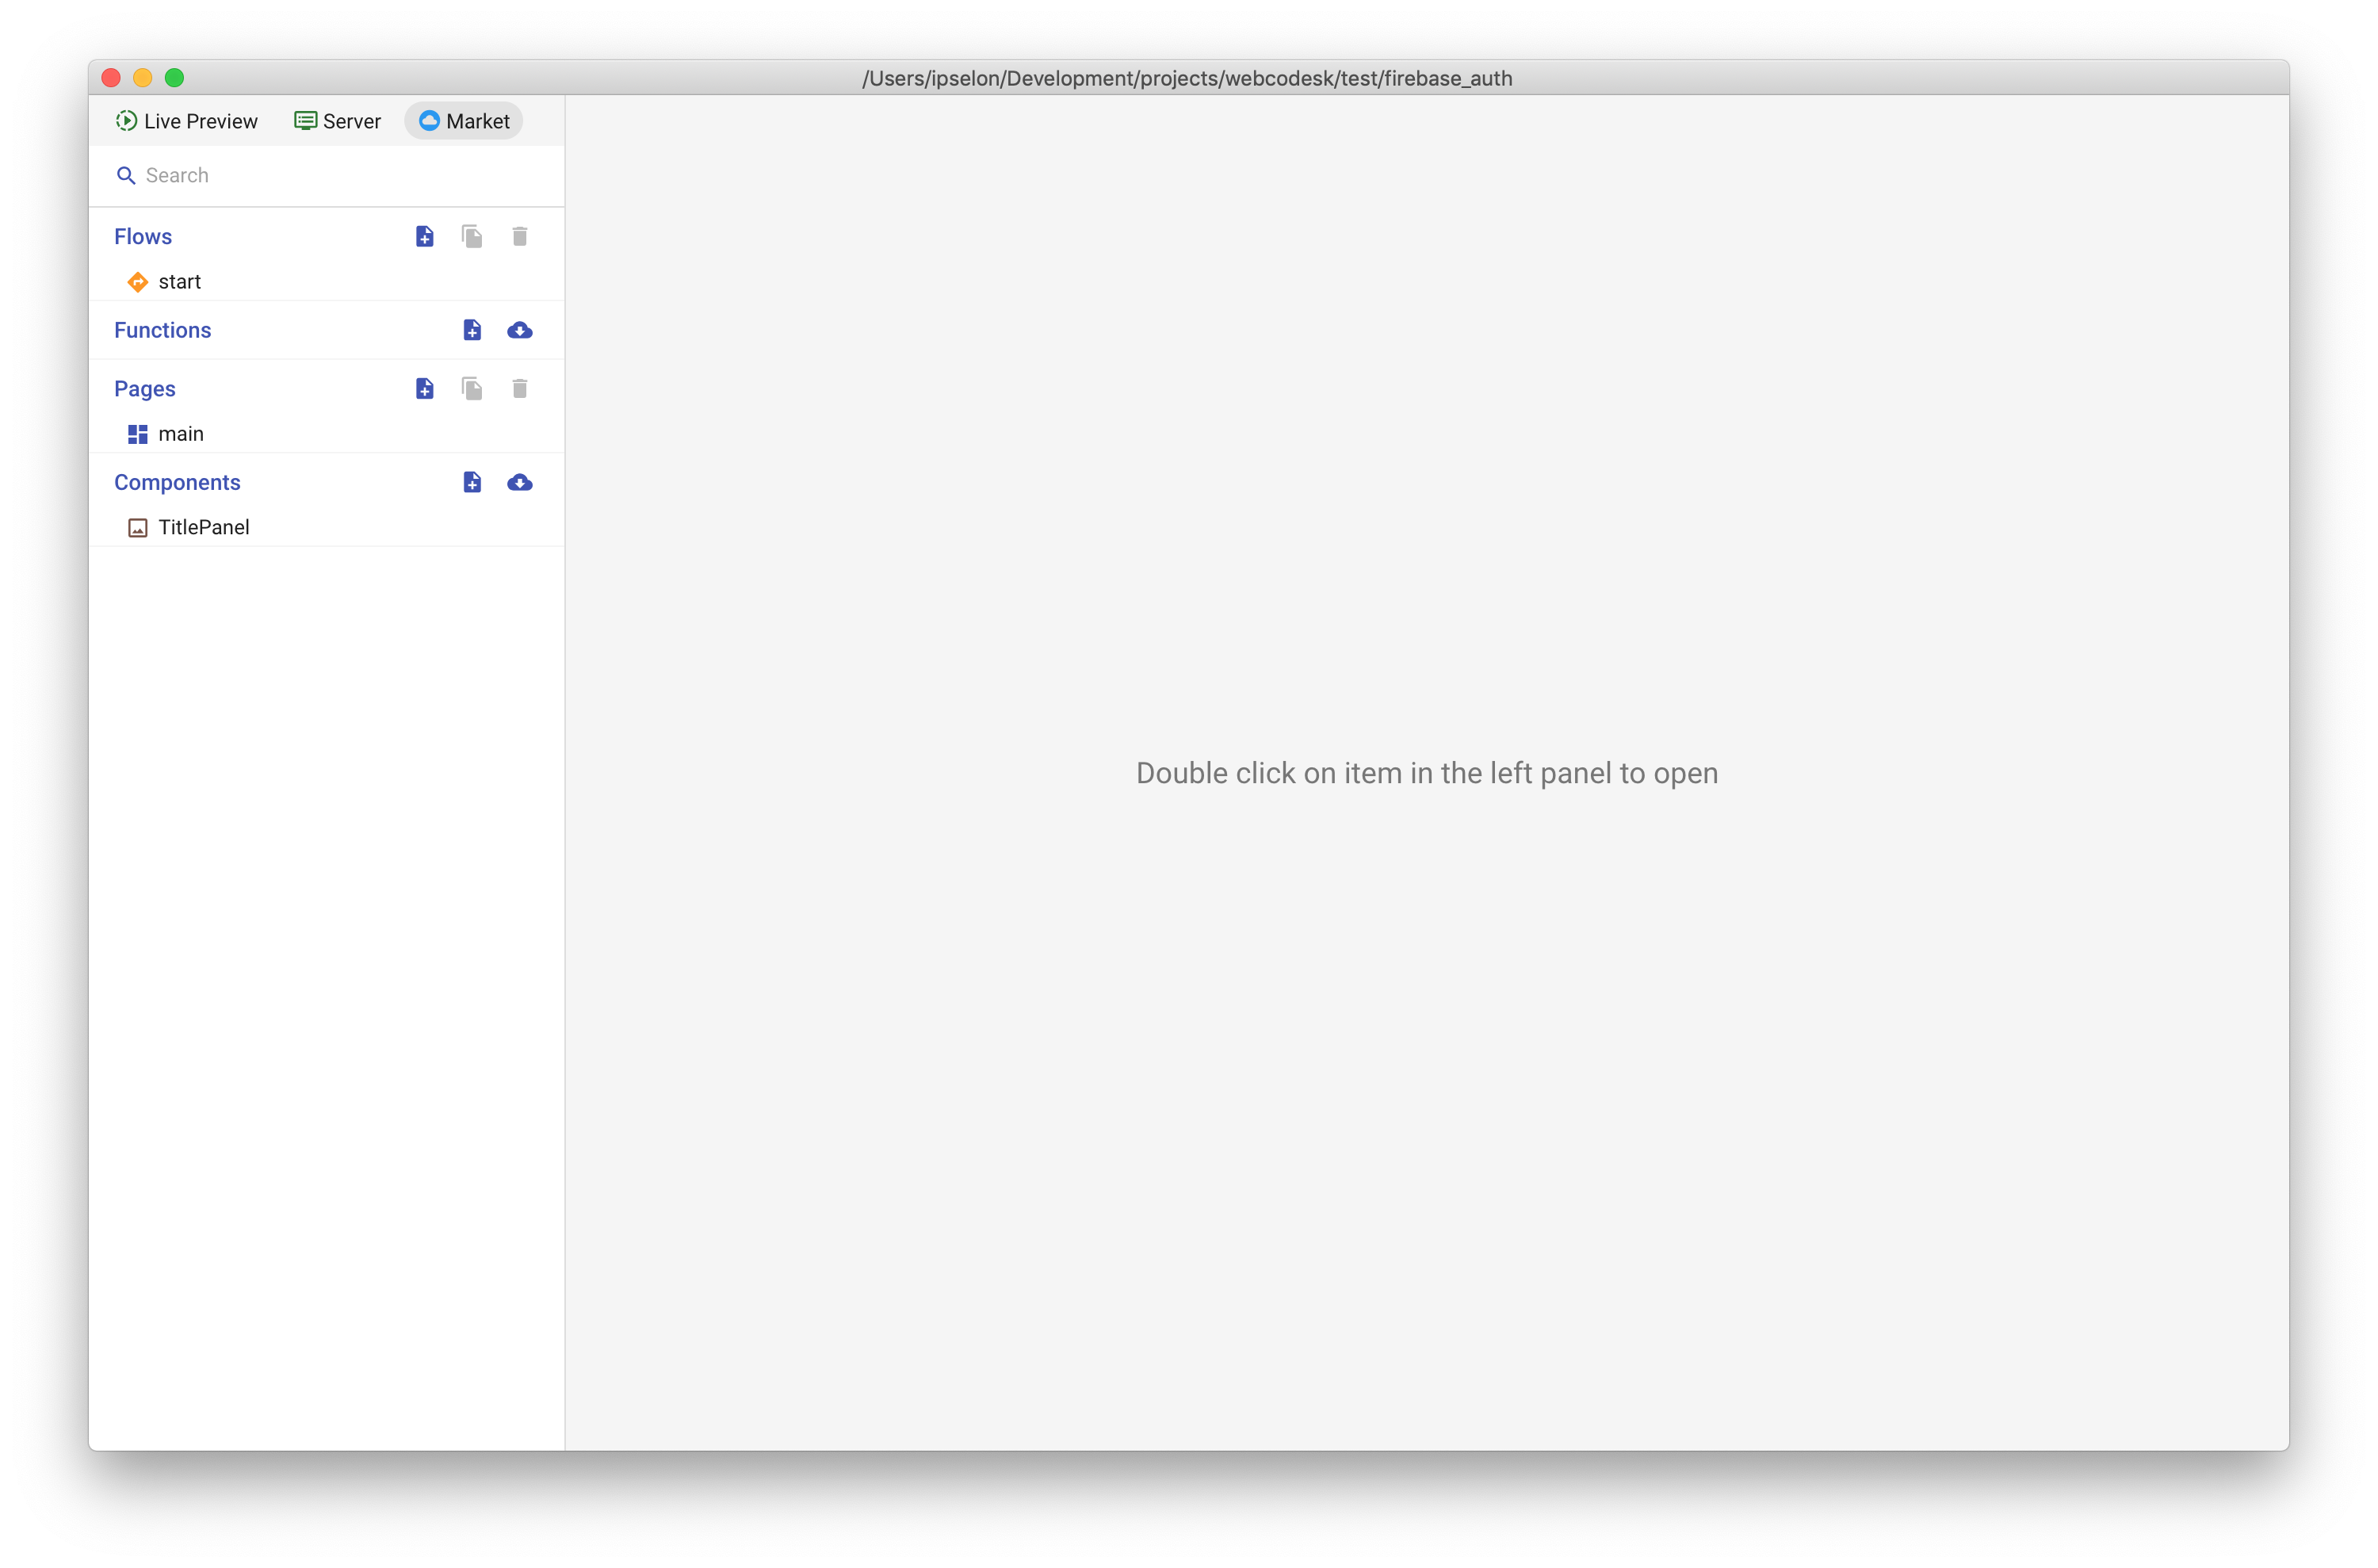
Find the Market button in the top left corner of the screen and click on it.
First, we will see the screen with 20 top most downloading components on the marketplace.
Start typing firebase_auth_tutorial in the first tag search input field and select this name from the dropdown list.
You should see 5 cards on the screen. We are going to install all these components in our project.

Although we can install each component one by one, we will install the whole bunch of components at once. Click on any card and see the tree of all components in the published project.
Select the entire project - click on project name in the root of the tree.
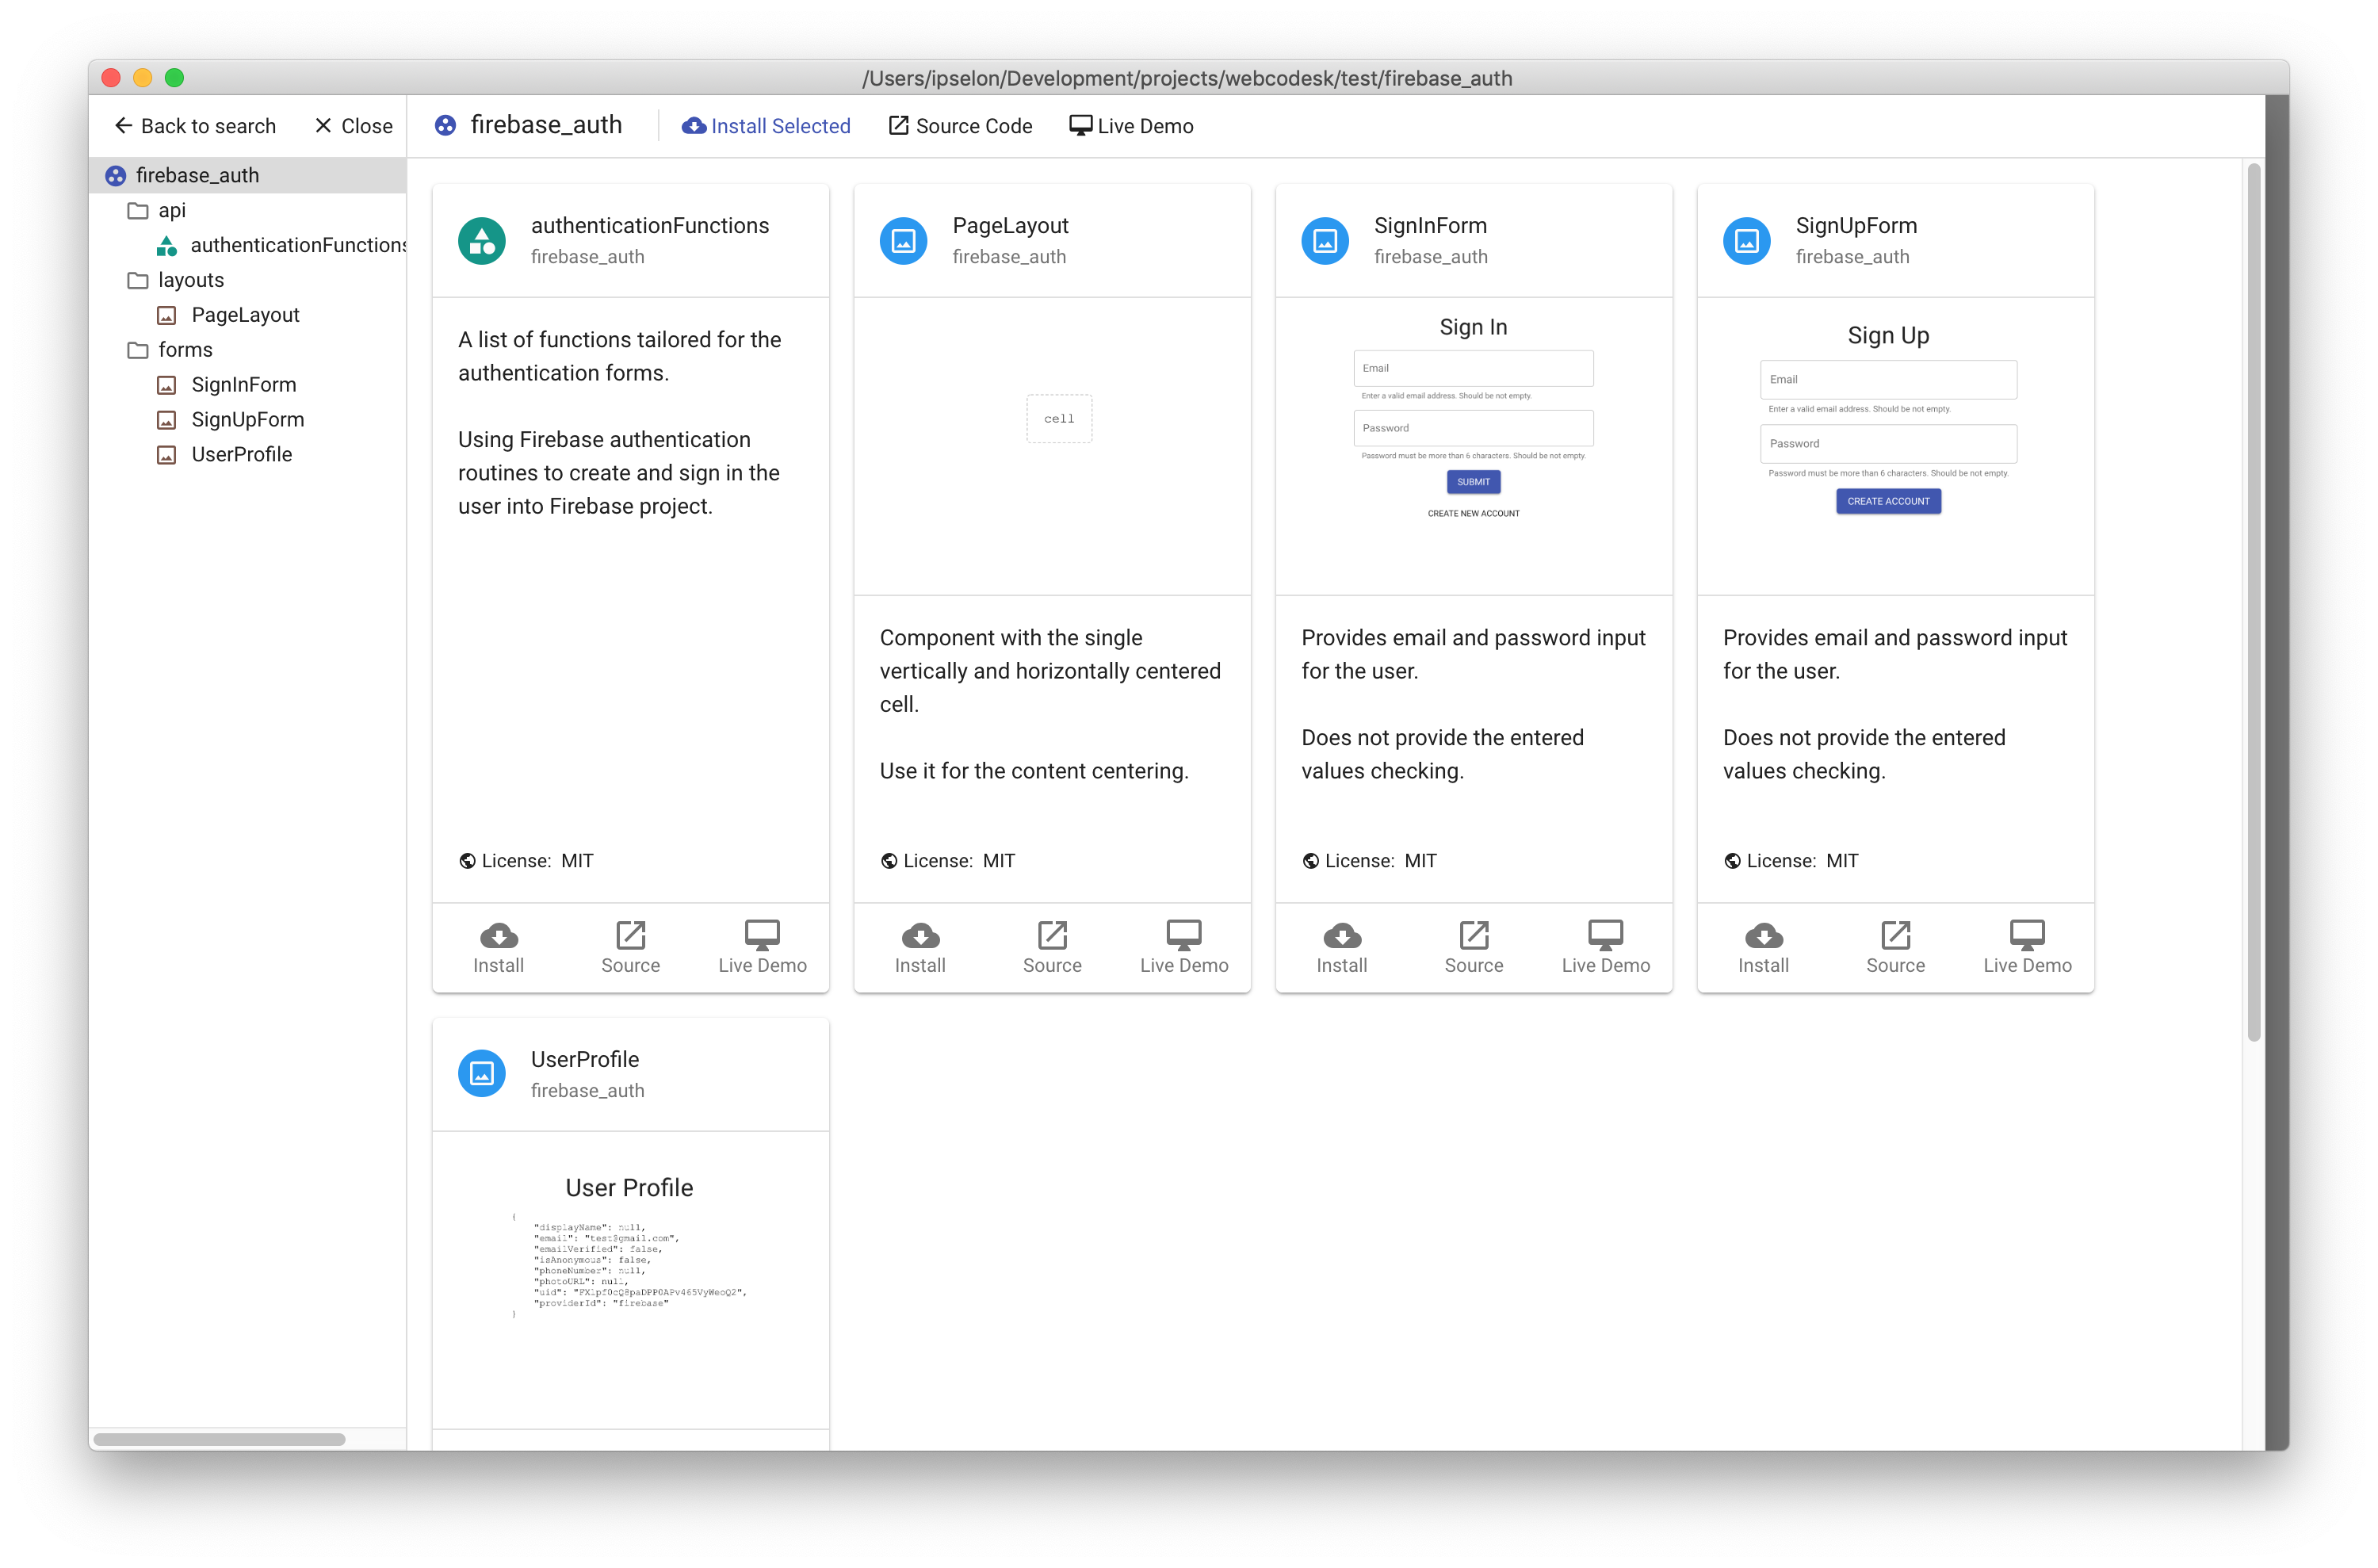
Now find the Install Selected button in the top toolbar above all cards and click on it.
Once you click you should see the dialog that asks you to enter the folder name where all components will be installed.
There is the name of the folder in the input field by default. Do not change the name of the folder - that's convenient to install a bunch of components into the folder with the source project name.
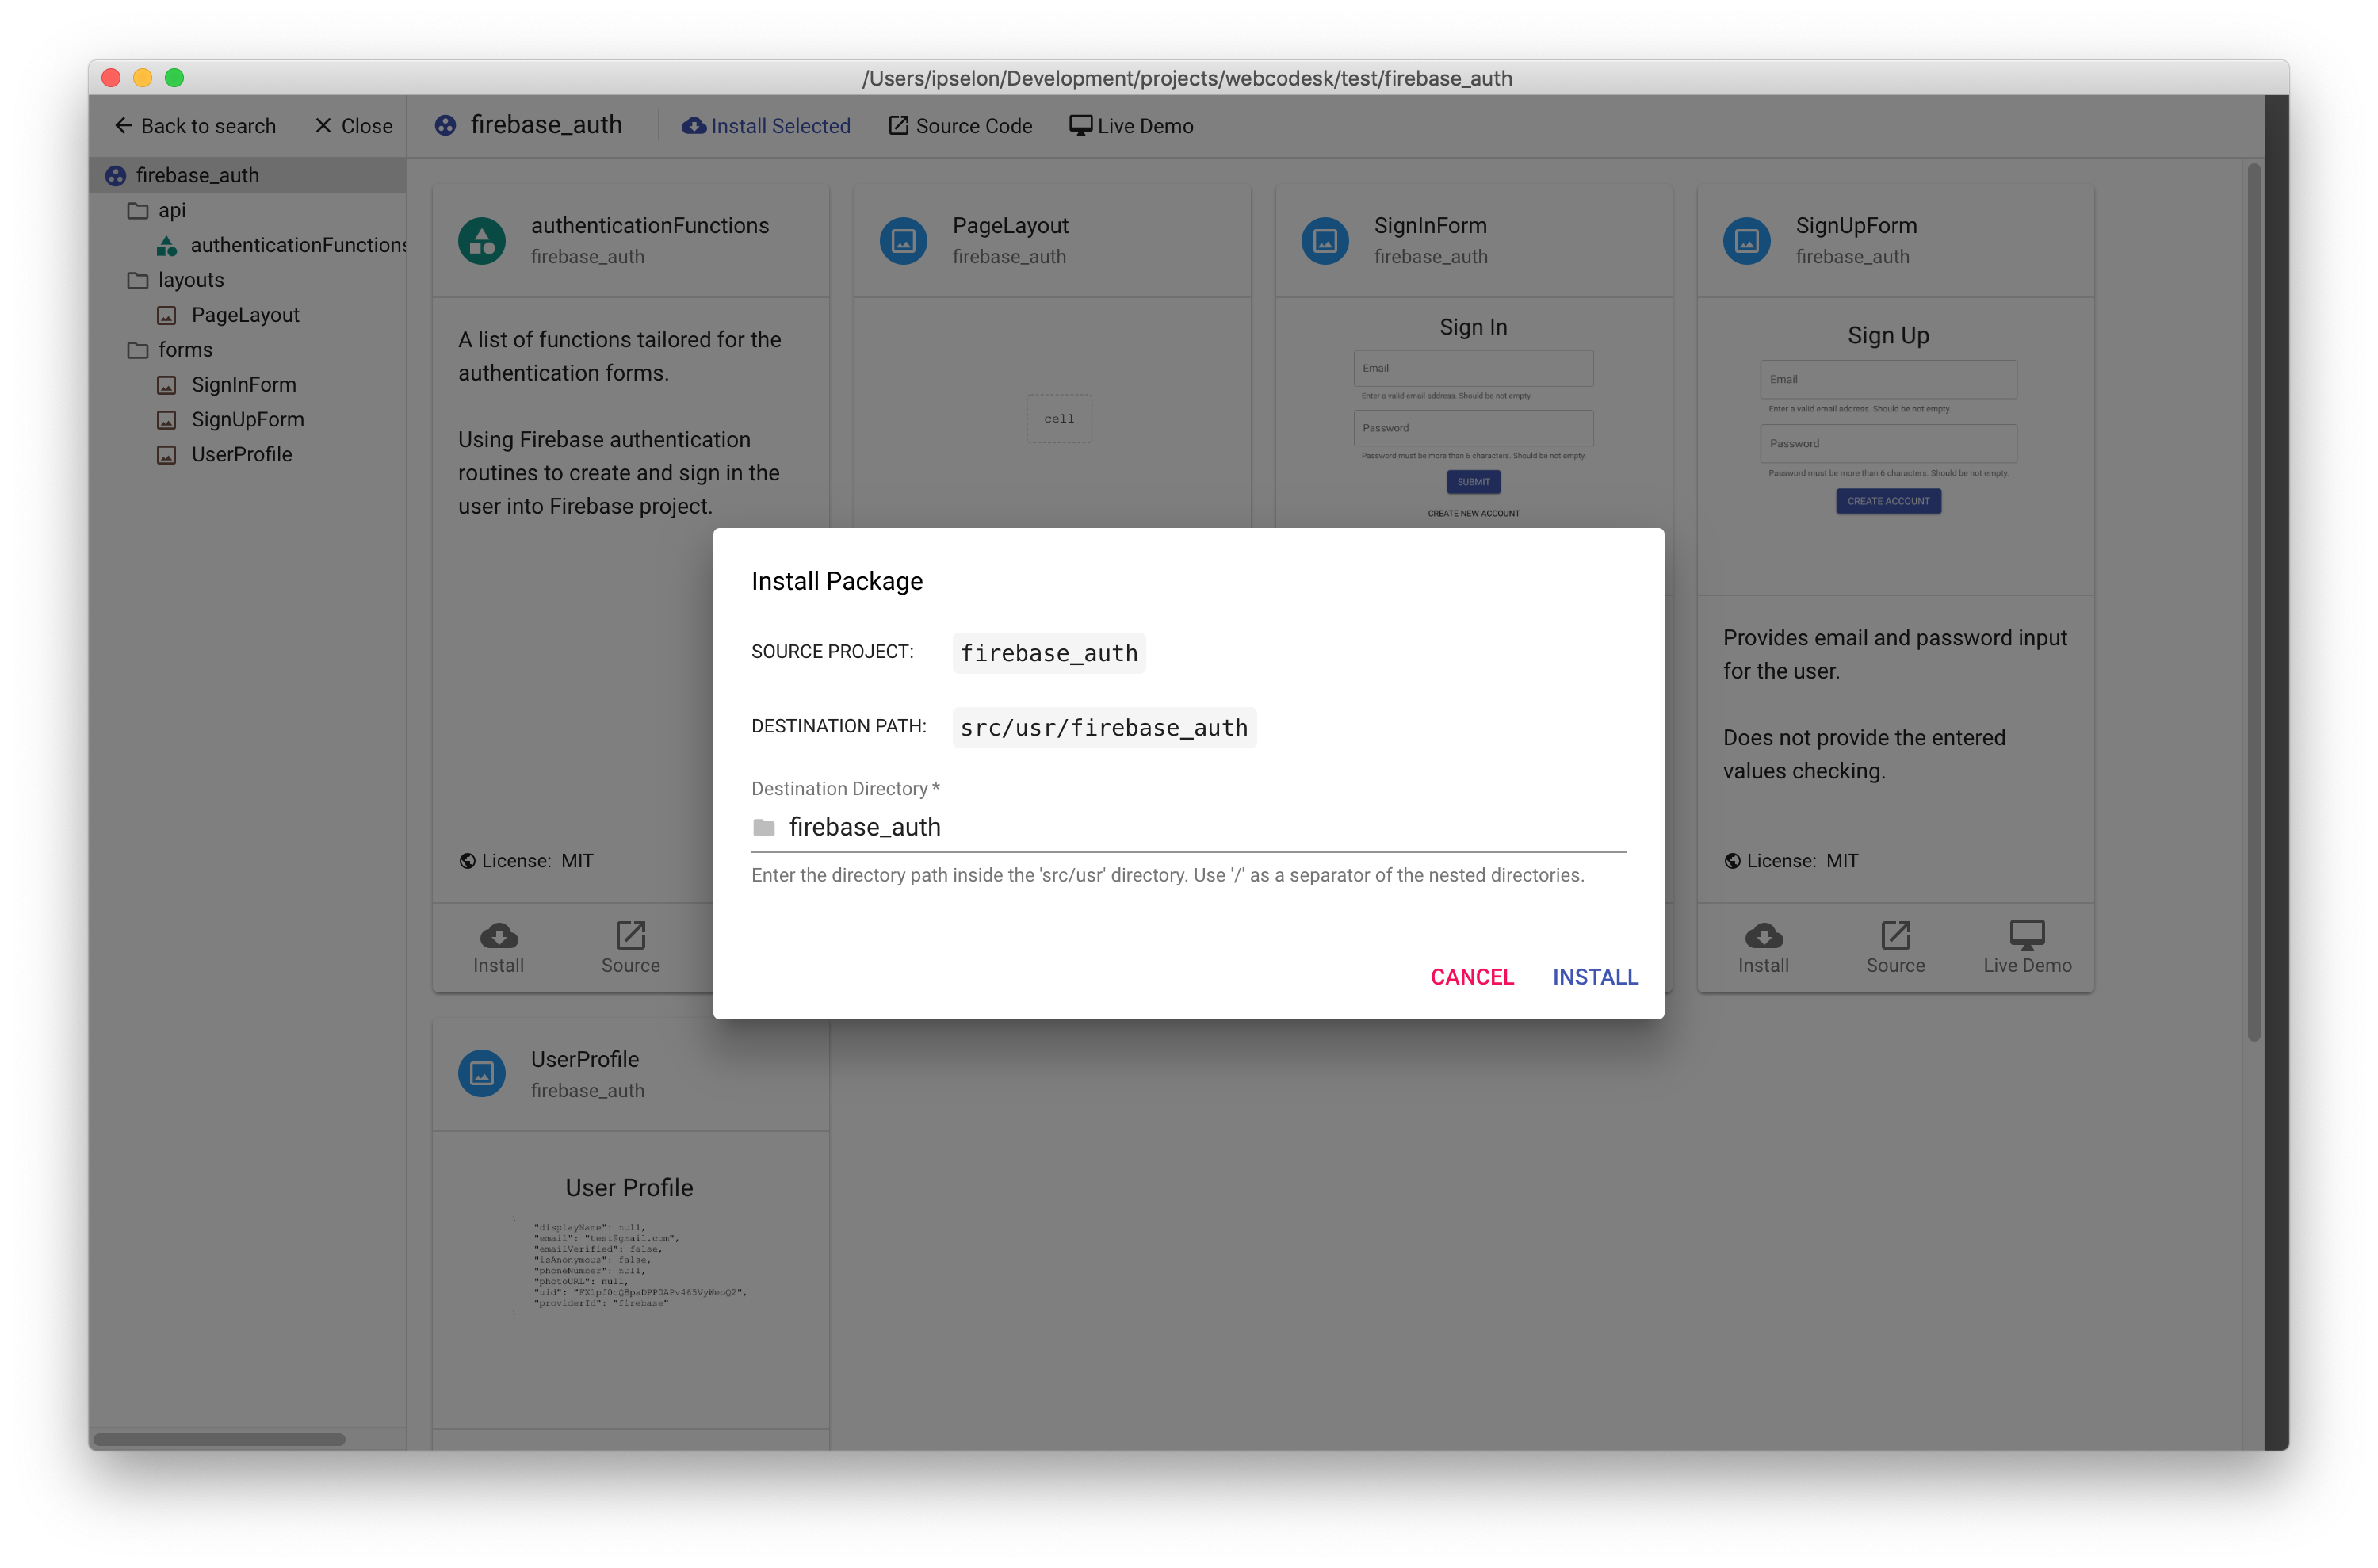
Click on the Install button in the dialog and wait for the notification about the installation is finished.
After that, we can close the marketplace and go to the project workspace where we will review the installed components.